I enjoy doing that sort of thing.
It’s a good bicycle:

Here they are:

Unfortunately the front one comes with patented ‘secu-clips’. They are intended to release the guard from the front fork if you happen to run over excreta that sticks to the front tyre. You can see those black plastic bits on the ends of the stays on the carefully pre-assembled front guard; those are 'secu-clips'.
I was not impressed, and their inclusion in the system would have required the removal of 2 cm. from the stays.
Even after my decision to discard said clips, I needed to shorten the stays by 1 cm.
I discovered that a blunt hacksaw is not the best tool for such a task.

Only as small amount of blood-loss was involved in the final fitting:

Then I came to the rear mudguard, (no ‘secu-clips’ here,) and that went pretty smoothly. All the bits were there, and the stays were the correct length for a 700C wheel.
I took this photo later, after fitting the rear carrier.
See ... the mudguard even includes a reflector:

However, Ridgeback, the bike manufacturer, seems to have a strange idea about how to orientate those threaded M5 bosses on the frame.
I ended up improvising with cable ties. That worked, but I think this photo is out of focus, and might be upside-down:


Those of you who know about such things will observe that the rack is not horizontal, as recommended in the manufacturer’s instructions. The reason is that those flimsy, bendable pieces of metal that attach it to the seat-tube anchor points are not long enough.
That will have to do.
A great advantage of this particular carrier is that it has a mounting for a rear light, (see later.)
My client wanted a front basket.
“Are you sure?” I questioned.
I obtained one, and it was rather nice:

The fixing bracket, (only suitable for 25.4mm handlebars,) went on perfectly, occupying all the space that you would otherwise expect to accommodate other accessories, including your front light, (see later.)
The basket has a quick-release function – very good.
BUT! … You have to squash all your gear and brake cables behind it.
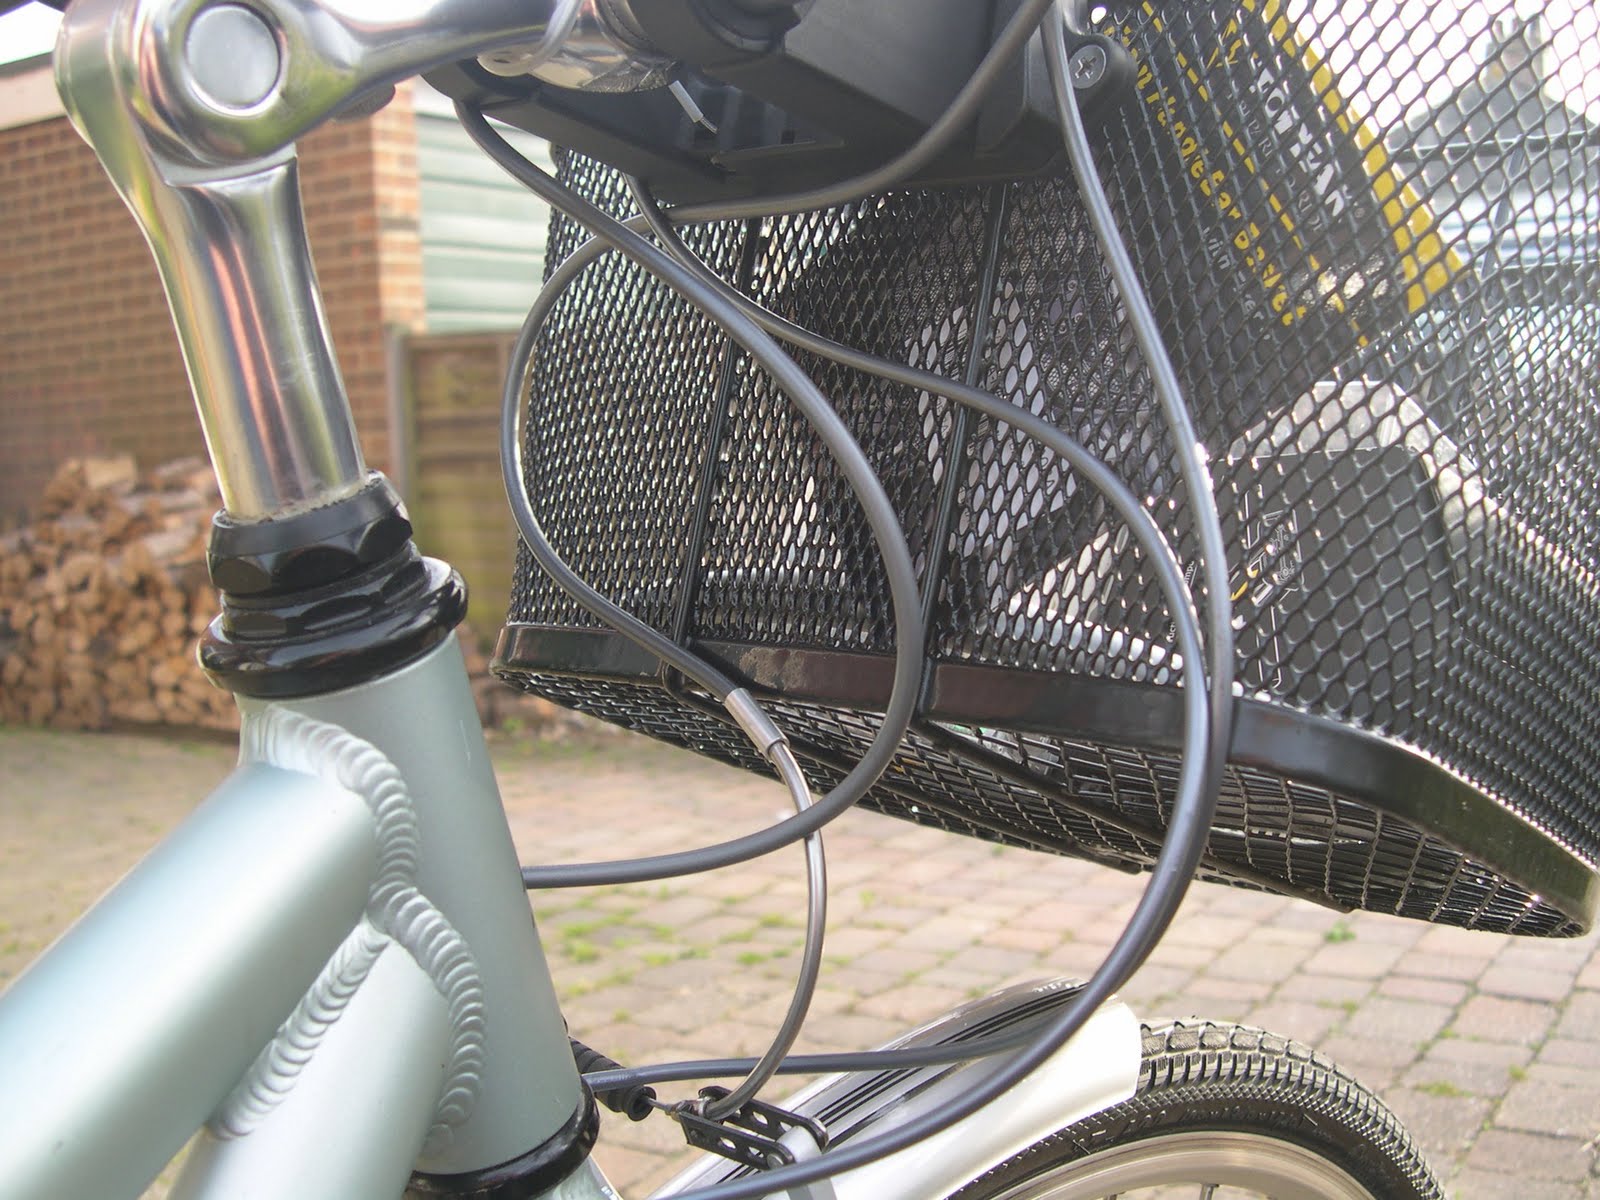
THEN … you remove the basket and you’re back to square one!
That still makes no scientific sense to me.
That still makes no scientific sense to me.
LIGHTS!
Yes, my client wants lights; that's wise.
Having occupied all the available space on the handlebar, the front light had to go somewhere else. Here it is on the front fork:
The Q/R mounting does not foul the front wheel, but anyone wishing to remove the mounting will have to remove the wheel first.
You will, of course, notice that it is on the left.
That is because my client intends to ride the bike on the continent.
Now, have you ever noticed that rear cycle lights purchased in the UK will only fit on the right-hand side of your frame, unless you fit them upside-down - whereby they fall off?
Anyway, if you secure the lamp on the rear stay of the frame in the traditional manner, your rear pannier is now in the way.
I solved this difficulty by fitting a dusty old rear lamp to that wonderful bracket on the rear carrier that I mentioned earlier:

(Needs new batteries!)
So, now it's complete and looks thus:

I am rather pleased.
Tools required:
- 4 & 5mm spanner/socket
- 5mm hex-key
- Cross head screwdriver
- Cable-ties x 2
- Blunt hacksaw
- Sticking plaster!
Now I will pump up the tyres.
- Bicycle pump!
No comments:
Post a Comment